Building an RV-12 (Part 3)
The third part in my experience building an airplane
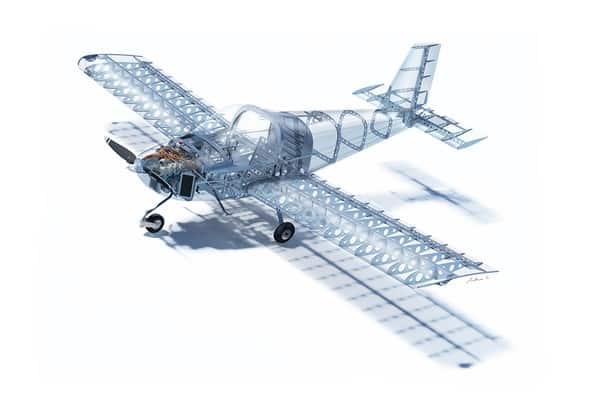
Since my last newsletter about building the Van’s RV-12, my wife and I have made quite a bit of progress. In fact, we’re nearly done. I believe the phrase commonly used in the homebuilt industry is “90% complete, 90% left to go.” But really, we’re getting down to the short strokes though it’s been a long process since we are mainly only able to work on it over the weekends.
Rapid progress…at first
When we started working, the plane was in a garage in Ossian, Indiana, about 15 miles south of Fort Wayne. The tail and wings were mostly done and the fuselage kit (the third of six kits total) was about one-sixth finished. After buying some videos on how to build the RV-12, we got started. I was actually blessed with a whole garage to work in (many thanks to my step-mo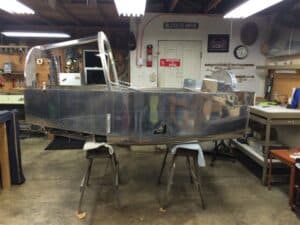 ther Kathy), and plenty of table space. We were also able to bring some parts home to work on in my basement, which was a nice help.
Progress proceeded rapidly when we started in June 2016. The side and bottom skins of the fuselage were installed that summer, and the basic fuselage structure was pretty well completed by November 2016, just in time to crack into the fourth kit, known as the finishing kit.
This name is a bit misleading because we were nowhere near finishing at this point, but that name has a better ring to it than “halfway kit,” or “other stuff you’ll need kit.” Actually, once that kit was done we were getting close to being finished, and by close, I still mean at least a year away at our pace. This kit included parts like the landing gear, canopy, cowling, and control cables.
The finishing kit
The first section of the finishing kit was wing installation, which was exciting. It’s starting to look a little more like an airplane. At that point, we didn’t have the tail on yet and that was by design. 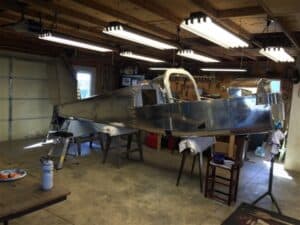 It’s a lot easier to walk around the thing without a tail in the way and it didn’t need the tail on until later, when we started stringing the controls for the rudder and horizontal stabilator. I picked up the suggestion while attending a forum at Oshkosh and also learned there that it wasn’t really necessary to complete the sections in order. Things like the rear window installation could be completed after we installed the wiring in the tail section and fuel tank.
The tail was attached shortly after the wings in April of 2017, and the vertical stabilizer and rudder followed shortly afterwards. Next we attacked the bubble canopy, which on an RV-12 hinges forward — similar to what you might find on a Diamond. This task required our first attempt at fiberglass work. You might not think that would be necessary on an aluminum airplane, but it was and it wasn’t the last of the fiberglass work either. The EAA offers training courses for homebuilders on things like sheet metal, fiberglass lay-ups, and electrical wiring to name a few, and I’d highly recommend taking those if you’ve got your sights set on building your own plane.
Installing the landing gear
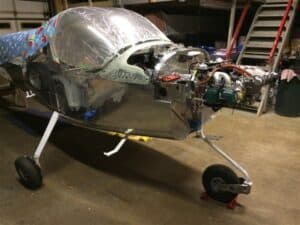 By the end of 2017, the canopy was on and we were ready to install the landing gear, and this is when we started to outgrow the garage. The problem was that I couldn’t have the vertical stabilizer on and the canopy open with the landing gear on or the canopy would have hit the ceiling. Those items were temporarily removed so we could proceed building, though it became obvious that we would need to move to a larger location soon.
Soon we were on to the avionics, so we still had a lot of work we could do in the garage without a canopy. For the RV-12, Van’s offered two choices of avionics suppliers: Garmin and Avidyne.
We talked with both at Oshkosh, and not seeing a major difference between the two, we chose Garmin due to the fact that I have been flying behind the G1000 for a while now and was pretty comfortable with it. Other than having to do some minor body contortions to get all the wiring installed, that part went fairly smoothly and before long it was time to move.
At this point, most people would head to the airport and work at a hangar, but fortunately, Blackstone has a large heated garage with a high ceiling, so I gave up my parking space in that garage and moved the plane there, as well as my work tables in preparation for the final kit — the engine.
Engine installation
Unlike a lot of other kits available, there was only one choice for engines from Van’s and that was the Rotax 912 ULS. The good news is that this is an excellent choice. 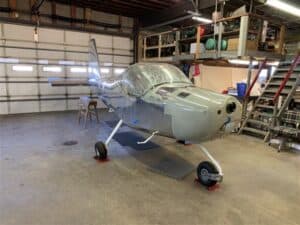 We see a lot of samples from that engine and they virtually always look great. The big difference between this and other 100 HP selections is that it has liquid-cooled cylinder heads. With that present, it can run either unleaded fuel or leaded fuel, so now I have the option of buying my own fuel instead of always having to buy airport fuel.
The engine is also equipped with altitude-compensating carburetors, so no mixture adjustments are necessary; one less thing for the pilot to worry about.
The engine was hung on December 21, 2018, a banner day in any airplane’s life. Everyone was excited, things are coming together, we’ll be in the air in no time now.
Well, here it is six months later and we still aren’t ready to fly, but as I said at the start of this article we are getting close. We flipped the master switch last weekend and powered up the avionics for the first time. Nothing caught on fire and the Garmin GX3 started just like it should, so that was another step in the right direction. We’ve rented a hangar at Fort Wayne International and will move it there at the end of the month. From there we’ll install the prop and start the test-flying process.
Time invested
I get asked occasionally how many hours we have in it and I really don’t know. Seems like keeping track of that would just make you depressed. With a project like this you have to just keep plugging away and sooner or later, the end will happen. In our case it’s been later, but the project has been fun and I’m glad my wife and I took it on. Still, I don’t think I’ll tackle another one any time soon. I’ll report back next newsletter, once we’re in the air!
Related articles
TBN/TAN: Do You Need One?
What exactly is a TBN or TAN, and do you really need one?
Sampling Methods
Does it matter how you take a sample?
The Renuzit Experiment
Is ZDDP really necessary?
The Lower Unit Blues
Water contamination in a marine lower unit
