Oil filter Testing
Filter testing is available through us, or scroll down to see how to do it yourself!

Filter Testing
Filter analysis is something you can (and should) do yourself, to get a baseline idea of what’s normal.
All engines produce metal; the trick is to know what’s normal and what’s not.
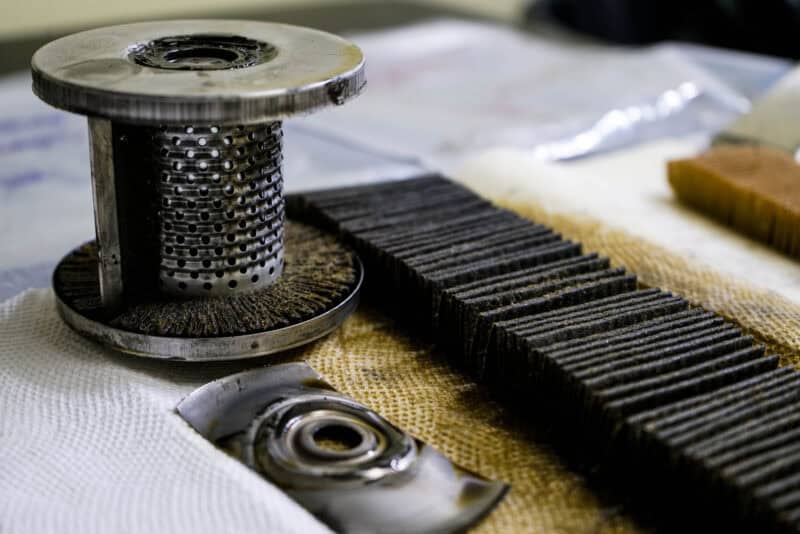
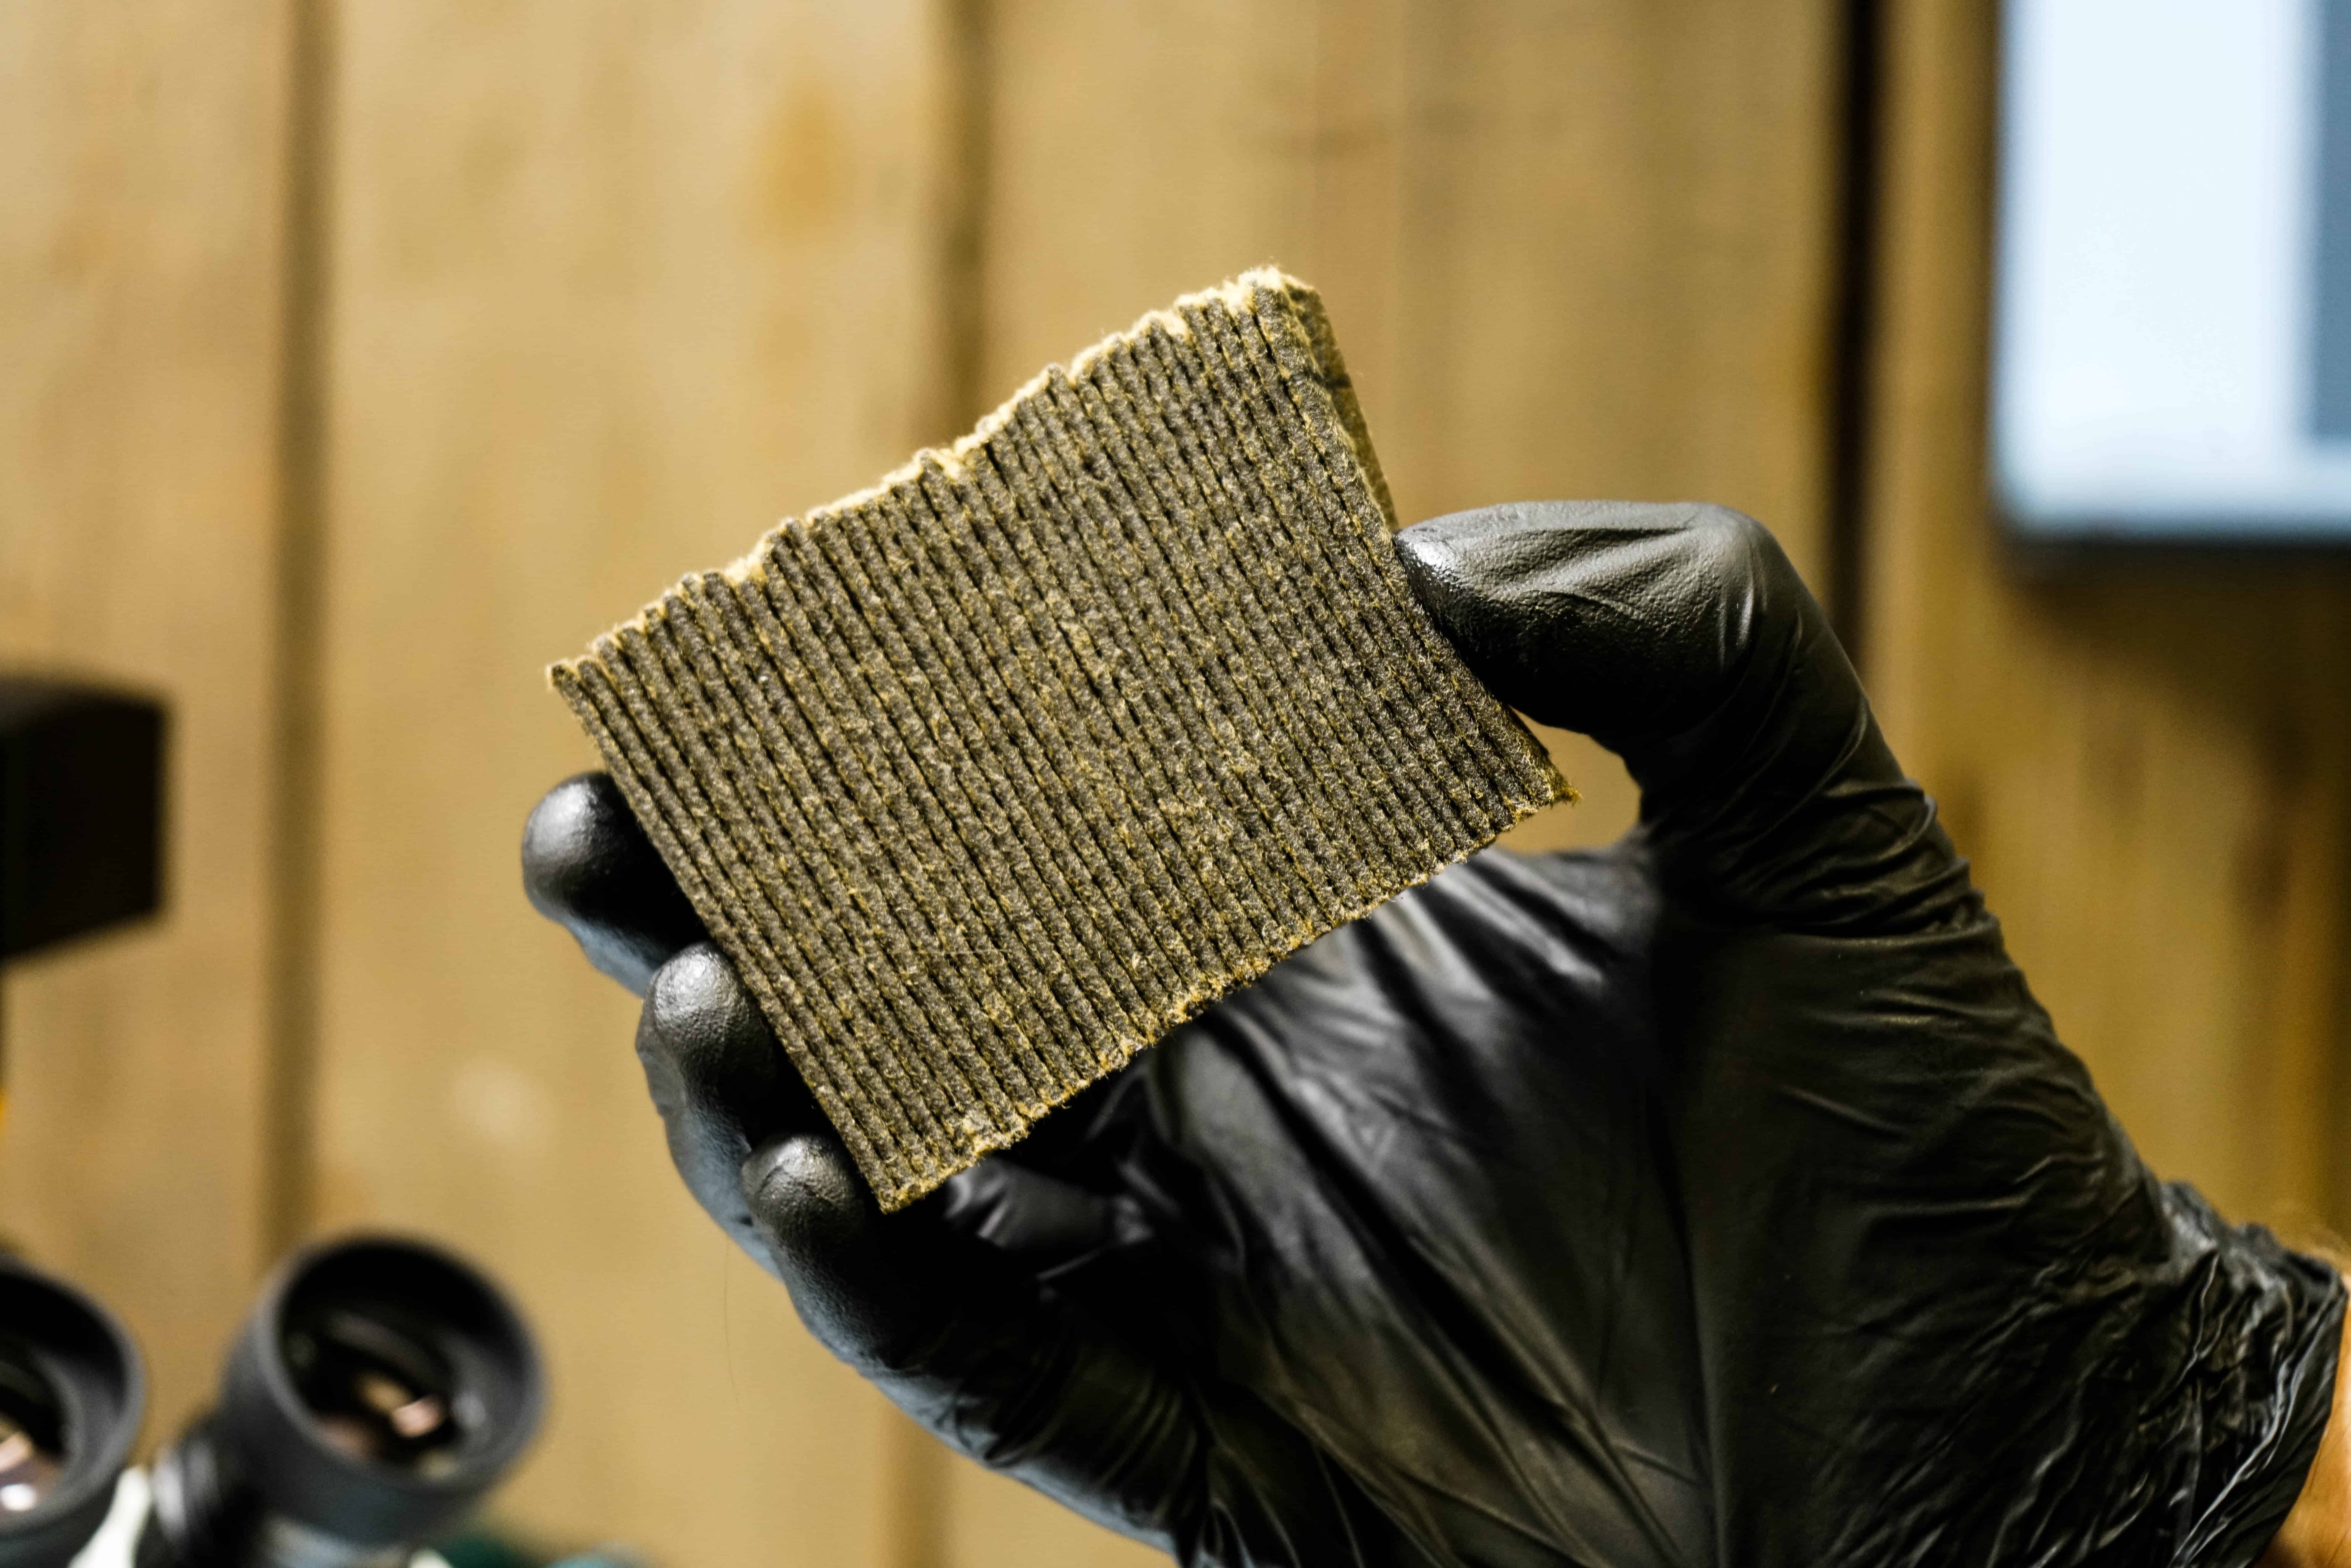
If you want us to analyze the filter, the least expensive option is to cut open the filter, remove some or all of the pleats, and send them in. You can also send the entire filter, but it’s messy and costs more.
We’d rather you remove the pleats yourself with an oil filter cutter.
What We Look For
Filter debris tends to fall into three categories:
- Metallic
- Carbon pieces
- Unknown
Some metal and carbon is okay. Lycoming has suggestions about how much carbon and metal is acceptable in a filter, and we’d consider the guidelines in SB 480F to be applicable to most aircraft engines. But if you’re seeing larger metallic pieces, or if you suspect a problem, you may want to have it analyzed.
Note: We only test filters that are 8″ tall or less. We do not test filters that have a metal screen inside.


Do it Yourself!
Checking the filter is a good practice and something you can do yourself. All you need is:
- Filter cutter
- Vice
- Solvent (like mineral spirits)
- Utility knife
- Magnet
Detailed instructions are here.
How to Send a Filter
You can use a regular oil sample kit to send us filter pleats. Just put them in the white bottle or in a ziplock bag.
For a whole filter, package it in two ziplock bags with absorbent material around them and send it in a box.
Once we receive the filter pleats, we will analyze the metal and debris inside and send a report containing a write-up describing our findings and conclusion with 5-10 images.


