Annual Inspection
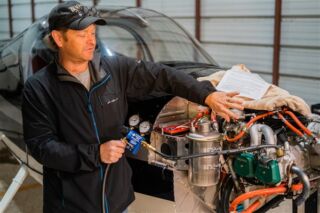
Well, the building is over and my RV-12 is in the air. Now that I’ve got an airplane I can actually use to go places and have fun, life is a bit less hectic. Still, the fun has to stop sometime and for airplane owners, the opposite of fun is often the annual inspection. Since my aircraft is an experimental, I have to do what’s known as a condition inspection. There is maybe less paperwork involved than the annual inspection that certified aircraft have to go through, but the potential for pain is there. To be clear, this inspection is an extremely important thing to do and the pain will often be limited to just a lack of flying, though there is always the possibility that a major repair will be needed and then the pain can quickly spread to your wallet.
Inspection #2
I am actually on my second condition inspection. The first one was done in July of 2021 and it went really well. The airplane was new (only 26 hours on it), so there really weren’t any issues involving worn-out parts and other things that older aircraft have to deal with. Nope, just checking to make sure everything was working properly and all the fasteners were still holding fast.
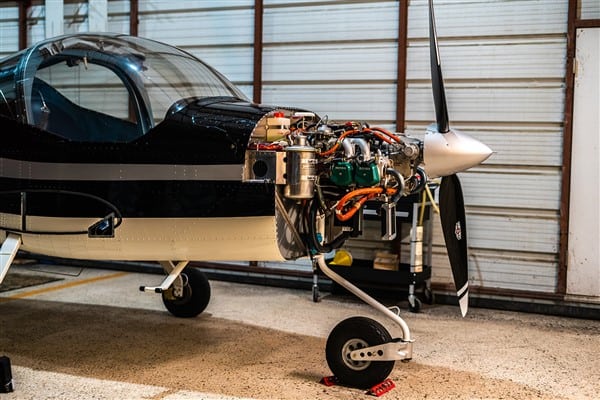 This year has been different, but it’s not really the plane’s fault. My wife and I started the inspection in mid-July, when the weather was nice and there was still plenty of year left, but didn’t get it completely done until just last weekend (the end of January). Again, the plane is still fairly new (only at 46 hours now), so there really weren’t that many problems to address. No, this year the problem was with me. Life and work tend to have a way of keeping you busy and this year it’s been a struggle to string a few weeks together to do the inspection.
DIY maintenance
As many of you with experimental aircraft know, one of the perks of building an airplane is getting to do all of your own maintenance. No more having to find a mechanic and work around their schedule or pay their bills. The other side of the coin is, you have to do all your own maintenance. In fact, there isn’t a mechanic in this area that will touch an experimental aircraft, so I couldn’t hire this job out even if I wanted to. Thankfully, the work itself is pretty simple overall and the nice thing is there is a checklist to follow. These are printed in the maintenance manual and include a systematic checklist of everything that needs to be looked at.
I don’t think you have to be especially mechanically inclined or talented to do this job yourself, but a little mechanical knowledge probably helps. I took a 2-day class in Dallas to get a repairman certificate with an inspection rating. It was full of good information, but possibly the most important thing they did was show all the many ways people can die as a result of taking shortcuts and not following the checklist. By the time I was done with that class, I was fairly gripping the chair arms with white-knuckled fists, and ready to triple check to make sure I dotted all my i’s and crossed all my t’s.
Oil change at annual
The checklist has all kinds of things on it, and I can see how it might be tempting to skip something that seems unnecessary. One of the things on that checklist is normally an oil change. This is a standard part of most annuals and often times it’s done whether the oil actually needs changed or not. We see short-run samples like this all the time at Blackstone and often wonder if the owner is looking for a problem, or if the plane is just in for annual and this was on the list. 
In my mind, if there was any one item on the inspection checklist that could be skipped, it would be an oil change that’s not needed (Blackstone’s lawyers would like to remind you that this is one man’s opinion only; officially, Blackstone advises you to follow the checklist!). Still, with that being said, an oil change is really an excellent diagnostic tool. You can send in an oil sample to see if the engine is wearing poorly and cut open the oil filter to see if it has any visual metal present. The problem with a short-run sample is, we can rarely tell the customers a lot other than there wasn’t much metal in the oil, so it looks okay from what we can see.
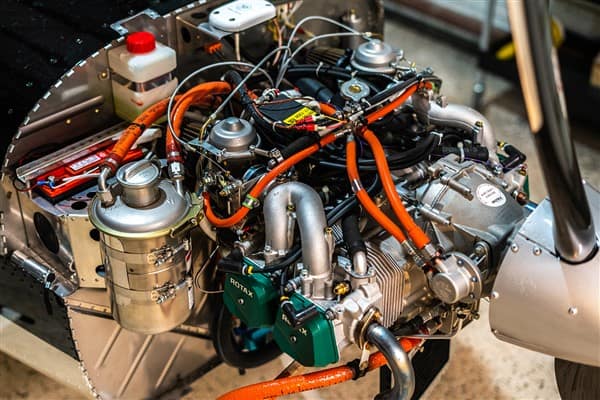 Unless you suspect a problem, a short-run filter inspection would also be of minimal value, for the same reason—there really isn’t enough time for any significant metal to accumulate. So how about a situation where you are halfway through a typical oil change? Where you have enough time on the oil for an analysis to tell you something, but not enough time that the oil really needs to be changed? For situations like that, you might want to get an oil sample by pulling one up via the dipstick tube. We sell a pump for just that purpose. It’s reusable and the money you’d save on an unnecessary oil change would likely pay for the pump in pretty short order.
Sampling from the filter
Or, what might be an even better option is to just change the oil filter at that point. Then you can pour an oil sample right from the filter and still cut it open to look for metal. If you do follow this route, just let us know you got the oil sample from the filter. We might see a little more insoluble (solid) material in this situation, but the metals and all other results should be basically the same as if you got the oil as it was draining out of the sump.
We understand there might be some situations where it’s not possible to stray from the checklist and it’s just easier to dump the oil and start fresh, though if you have some leeway in that regard, skipping an oil change can save some time and money, making a potentially painful job a little less so.
